Since I have been asked about this a lot lately I thought it’s easiest to write a quick summary of my set-up and process. I’m still learning how to make the most of recordings but this is a good start.
I use the Logitech Zone Wireless Headset (rather than a separate mic) because I can use this headset for webinars and online meetings as well. The quality is very good and it’s easier on the wallet to have one tool that can do everything. I use the built-in camera on my iMac – which also seems to be doing a god job.
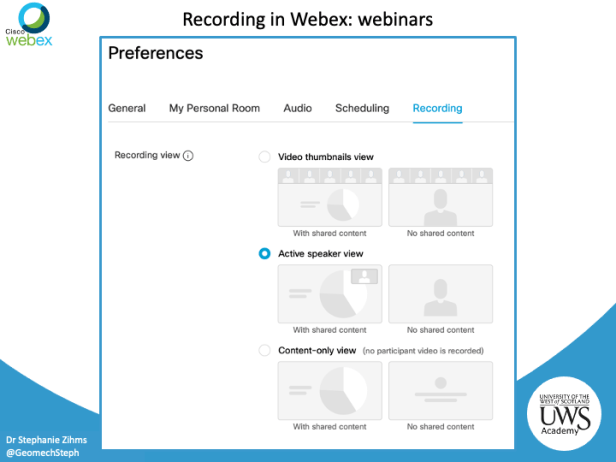
I record my lectures in Webex meetings because
- we have a full licence via the University
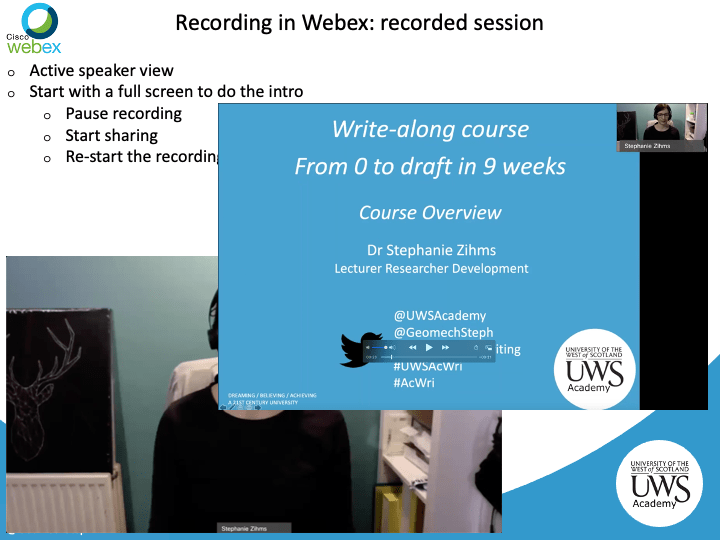
- speaker view option means I can have my video on top of the power point slides
- you can pause the recording to switch between settings e.g. from full view to sharing your power point
- the recording quality is quite good
- Webex auto-generates a transcript that can be edited
Be mindful when recording interactive sessions in speaker view as this might mean someone asking a questions will appear in the video unless they have their camera turned off – or you could opt to pause the recording.
Because I’m working remotely I use my iMac for work and iMovie has been great for editing – it’s super intuitive to use and free (with the Mac). For longer sessions I record shorter sections (e.g. slide by slide) and then edit them together.
Once I recorded or edited my video I then upload it to Microsoft Stream – this is part of Office 365 and we have access to it via our institutional account. Stream can be connected to Office365 Forms and you can add forms or quizzes into your video via the Interactivity function. You can also create a Stream channel and attach it to a group, team or open to anyone at your institution. As far as I am aware Stream videos can’t be shared outwith your institution unlike private YouTube links.
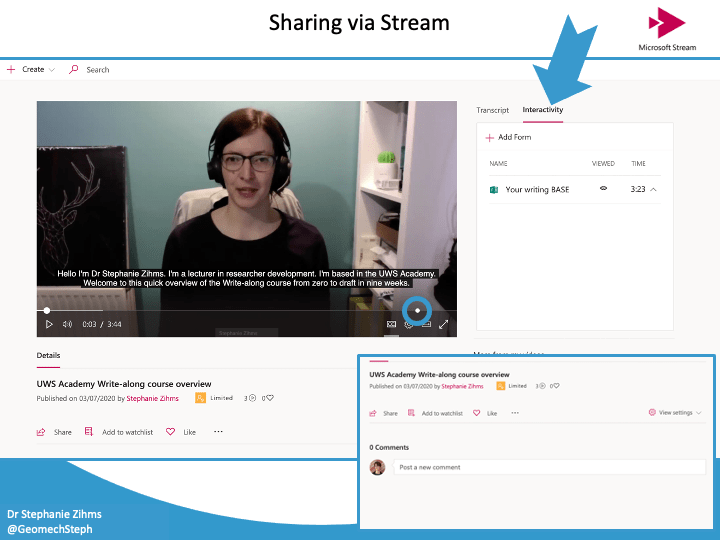
For videos that I recorded in one go (e.g. webinar) I upload the edited transcript from Webex to create the captions on Stream. For videos I had to edit after recording I upload the video and let Stream auto generate the transcript and captions (these can also be edited). If you find editing in the Stream App to clunky you can download the captions as a text file and edit them offline. Once edited just untick the auto caption box from your video and upload your edited caption file. The same file also works for captions if you upload your video to YouTube.
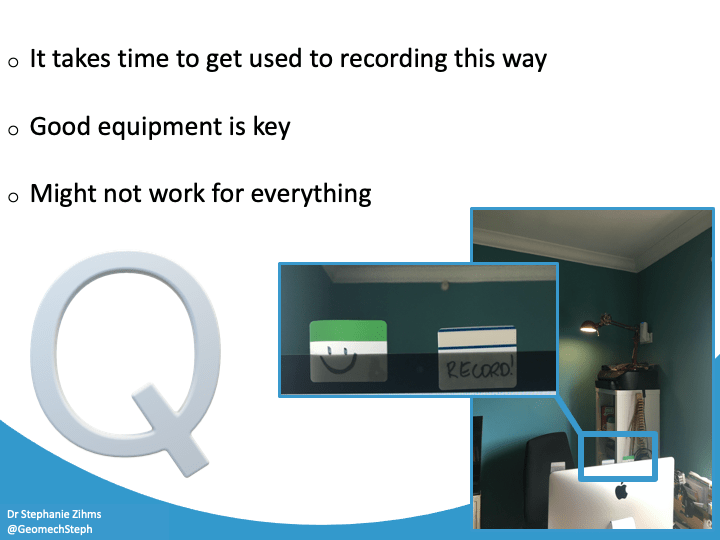
To help me remember to press record for webinars and look at my camera I added some post-it note reminders – it helps to have a friendly face to take to.
I have started to record more standalone material as it allows participants to share more openly and makes the asynchronous material more applicable to people who missed the webinar. But I will write more about asynchronous materials in a future post.
I’m happy to chat about my process in more detail so either get in touch via Twitter, email me or comment below.

This is a very useful article. The step by step instructions are going to be the most important factor. Thanks for your help ☺️☺️
LikeLike